| Introduction |
WowInterface.com has recently added support for git repositories for addon developers. This allows you to now choose between Git and SVN, using whichever version control system you are most comfortable with. The Git system works in a very similar way to the SVN system that you may already be familiar with. You can create repositories for projects that already exist or you can even create a development repository for an unreleased addon, creating the actual addon project later on. You can push new files from the web interface, allowing you to easily package up new versions of your addon without any fuss or mess |
| Setup (Authentication) |
Before you can begin using the Git system on WowInterface.com, you will need to supply an SSH key that enables authentication with our servers. If you aren't familiar with SSH or how to create or obtain a key, you might find the following guides useful:
Once you've created your public and private key pairs, you will need to give your public key to WowInterface in order to allow the system to authenticate you. To do this, navigate to Git Control Panel and click the "Git Keys" button. 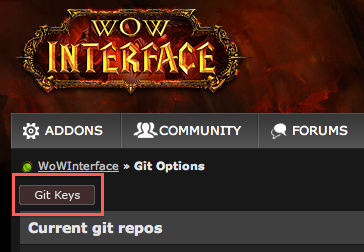
In the window that pops up you will see a place to add your key, with a spot for you to give it a name you can recognize in case you have multiple keys, and the text of the key itself. Please ensure when you are adding your key that you paste the public portion of your key, not the private portion. The public key should be stored in a file ending with the extension .pub. Here's an screenshot of me adding my home machine's public key: 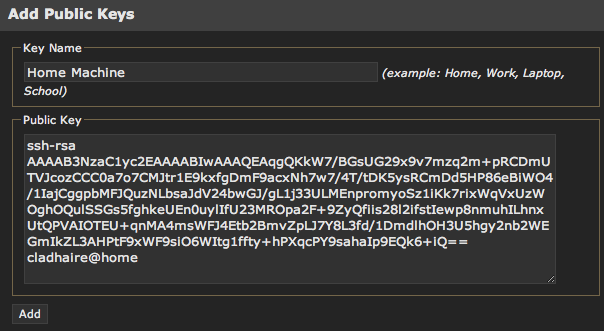
Once you click the 'Add key' button, it will show up in the listing where you can delete it if necessary. You can always delete and re-add a key if something does not work properly. 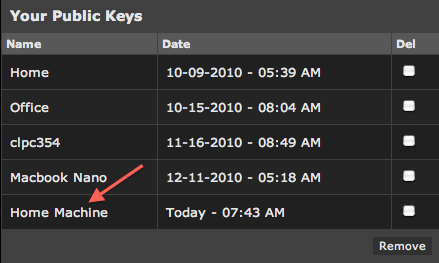
Once you've added your key, you should be able to authenticate with the server, although this relies on your local machine being set up properly. You can always post on the forums if you are having difficulty, although SSH public key authentication can be a bit tricky to get working. |
| Creating a Repository |
The next step, once your public key has been added to the system, is to create a repository. You can either create a repository manually (if an addon project does not already exist, or create one based on an existing project. Each addon project which does not currently have a git repository will be listed after your list of existing repositories. To create a repository for one of these projects, simply select the checkbox and click the 'Auto create' button. 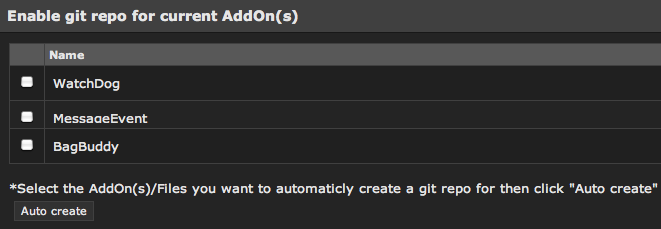
In order to manually create a new repository, scroll down the page and fill in that portion of the form, clicking 'Manually create' when done 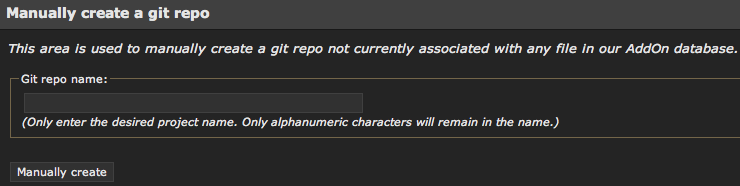
Once you've done this, your repository will appear in the listing:  |
| Cloning a Repository |
Once you've created a repository, you will need to clone in in order to do commit any development back to WowInterface. These instructions will be given for UNIX-based systems, although they should be a bit easier if you are using a graphical client for Git, such as on Windows. This guide assumes your public key is already established with your system and it will be used to attempt authentication with remote hosts. Find your repository in the listing, and copy the address that is listed. This address will begin with [email protected] and will end with the specific id of your repository. For example: 
Open your terminal window and run the following command: For example, if you'd like to clone the example repository above into the directory /home/cladhaire/addons/GitRepoExample then run the following: Obviously this command will need to altered for your specific needs, i.e. the repository you would like to clone and the destination directory. Once the repository has been cloned, you can begin making changed and committing files to the repository. Unlike SVN, Git allows you to make as many changes and commits as you would like without those being uploaded to the server. When you are done making changes and want to publish your changes, you will push them to the repository. |
| Pushing your initial set of commits |
Pushing the first set of changes you've made to your repository is a bit different than pushing regularly, so this FAQ entry helps explain how to make your first push to the remove repository. Using the example repository we've already used, we've created a file called GitRepoExample.toc with some basic text: ## Interface: 40000 ## Title: GitRepoExample GitRepoExample.lua We've also added a GitRepoExample.lua file with the following: Not a terribly useful addon, but sufficient for our example. Now we want to add these to the local repository on your machine. We use the This adds the two files to the staging area, allowing us to commit both of them at the same time. We commit them by using the Depending on your setup, you can not specify the message in the commit and an editor will pop-up so that you can use multiple lines and have an easier time editing the message. For the purpose of this FAQ, we'll use the command-line arguments for brevity. Either way, the output of the commit looks like this: You can see that the commit has happened by running the Now, in order to push these changes to the remote repository, you will run the This command tells git to push your local set of changes to We can see that the new branch was created on the remote end of the repository, and any new repository cloned would contain this information. In the future when you want to push your commits to the repository, you can continue specifying the branch names, or you can simply omit them, using |
| Configuring your addon's directory |
Although in your repository you may wish to create the addon structure yourself, for example creating a directory called GitRepoExample and then putting the .toc and .lua files underneath, but this is not required. By not doing this, you allow your repository to be checked out directly into your addons directory without any further fuss, but obviously zip files created will not work properly. You can rectify this by configuring the Git system on WowInterface to package your addon under a directory.
To configure this option, find your repository in the listing and select 'Options -> Miscellaneous' in the dropdown: 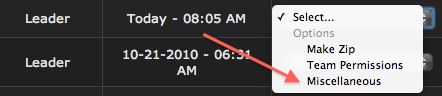
In the resulting addon page, you can use the 'Prefix Directory' field to specify the directory you would like your project to be packaged under. For the example we have used, you could specify 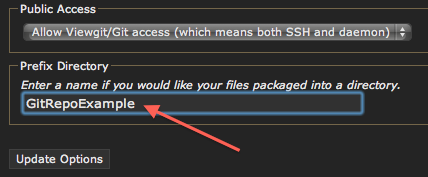
Make sure you click 'Update Options' to update the configuration for your project. Now, when using our example repository and the prefix directory 'GitRepoExample', we can create a zip file and see the following output: 
Of course this option can be changed at any time, and the next packaged zip will reflect the new set of options. |
| Configure project visibility |
There are visibility options available for Git projects that allow you to configure whether there is any public access to your repository. There are three options, shown in the dropdown on the Miscellaneous Options screen: 
There are three different types of access to project repositories:
Using the configuration dialog you can allow full public access to your repository, disable the web viewer for your project, or disable all public access to the repository. As always you have full control over the visibility of your projects. |
| Adding automatic versioning to .toc file |
Just like its SVN cousin, Git integration on WowInterface allows you to have the packager automatically update the version number in your packaged files. The system is slightly different, matching the method used by WowAce and CurseForge, allowing you to push the same files to two different repositories and get automatic versioning on both sets of sites. You can simply add @project-version@ anywhere in your .toc file and it will be automatically expanded to show the revision or tag name that was used to create the file. For example we can alter GitRepoExample.toc as follows: Now, once we've committed and pushed this change to the repository, our next packaged file will have this tag replaced. For example, the following file is created when I package a new version: Because I built this package using the HEAD revision, the packager simply replaced the version with the latest commit that the master branch of my repository currently points to. This version number is a unique revision id that can be used to tell git what specific commit is being referenced. Compare it to the git log: If you look closely, you can see that the first few characters of the most recent commit are exactly what was shown in the version field. This can allow you to identify what commit of a given addon your users are using when trying to debug problems. Of course this only works on files that have been packaged, so users that are using your addon directly from a cloned repository will have this show as @project-version@ still. If you instead build your package from a tag, rather than from the HEAD revision, the tag will be displayed. For example, a recent version of Clique has the following version number listed in the .toc file: This was generated by the packager, because I used the git tag 'v40000-1.3.3' to generate the file. |
© 2014 - 2022 MMOUI
vBulletin © 2024, Jelsoft Enterprises Ltd